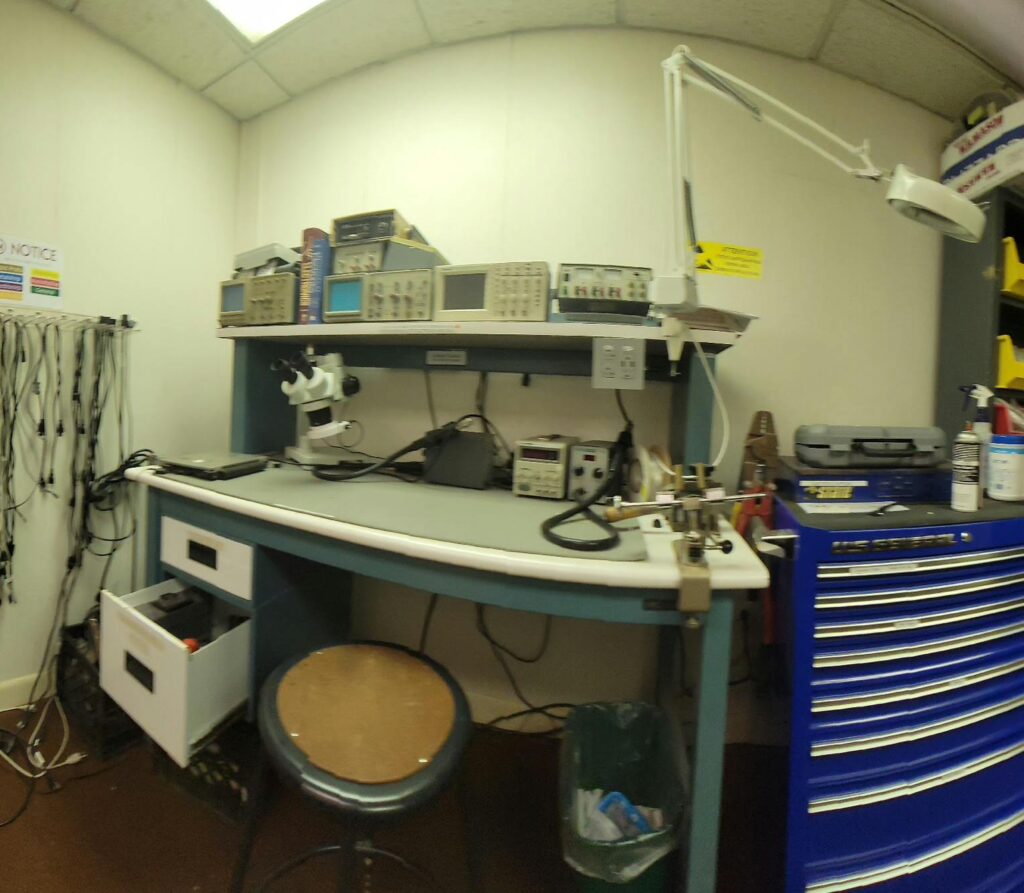
Electronics shop is ready for your making and repair needs
The electronics shop was one of our first workshops, and is well-stocked with the tools and parts to successfully complete anything from the simplest wiring to complicated surface-mount component repair!
Particularly popular is repairing “dead” appliances by replacing failed caps. Read on for more on how you can perform this quick and inexpensive fix.
Bulging or vented capacitors
One of the most common signs of a damaged capacitor is a bulge or vent on the top of the capacitor. This is caused by internal pressure building up inside the capacitor, which can happen if the capacitor is overloaded or overheated. Over time, capacitors may “dry out” and lose their electrolyte.
To find damaged capacitors, visually inspect the circuit board for any capacitors that are bulging or vented. If you see any damaged capacitors, they should be replaced immediately. Sometimes a capacitor may fail without visible external signs of damage. A future article will provide more information on how to address these.
Desoldering bad capacitors
To desolder a bad capacitor, you will need a soldering iron and some solder wick or a “solder sucker”. First, heat up the capacitor leads with the soldering iron. Once the leads are hot, touch the solder wick to the leads and it will absorb the molten solder. The solder vacuum sucker works in a similar manner.
Continue heating the leads and applying solder wick until all of the solder has been removed. Be careful not to overheat the circuit board, as this can damage other components.
Testing capacitors out of circuit
Once the capacitor has been desoldered, you can test it out of circuit using a multi-meter. To get access to our component testers and meters, you will need to be checked out in #shop-electronics.
If the capacitor is good, the capacitance reading will be close to the value that is printed on the capacitor. If the capacitor is bad, the capacitance reading will be either very low or very high.
Soldering in replacements
To solder in a replacement capacitor, first heat up the capacitor pads on the circuit board with the soldering iron. Then, apply a small amount of solder to each pad.
Next, place the replacement capacitor on the circuit board and hold it in place with your fingers. Finally, heat up the capacitor leads with the soldering iron and press them down onto the solder pads, making sure to make a good solder joint (cold solder joints are the most common reason for a failed repair attempt)
Once the capacitor leads have cooled and solidified, the capacitor is installed and ready to use.
Safety tips
- Always wear safety glasses when desoldering and soldering capacitors.
- Be careful not to overheat the circuit board, as this can damage other components.
- Make sure that the replacement capacitor has the same capacitance value as the original capacitor.
- Allow the capacitors to cool completely before testing them or handling them.
- Clean up! A clean workspace is a safe workspace, and safety is the responsibility of every member!